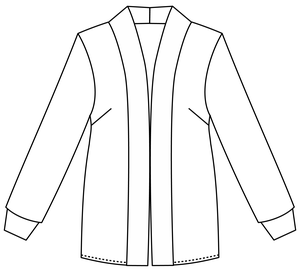
Cardigan "Lily", a new free pattern
Brrrr, no, winter is absolutely not my time of year. Dark, wet and above all cold - no thanks! Accordingly, one freshly sewn, cozy and extra long cardigan after the other is going into my closet. I can't have enough of these.
Do you feel the same? Then I have a pattern for you here.
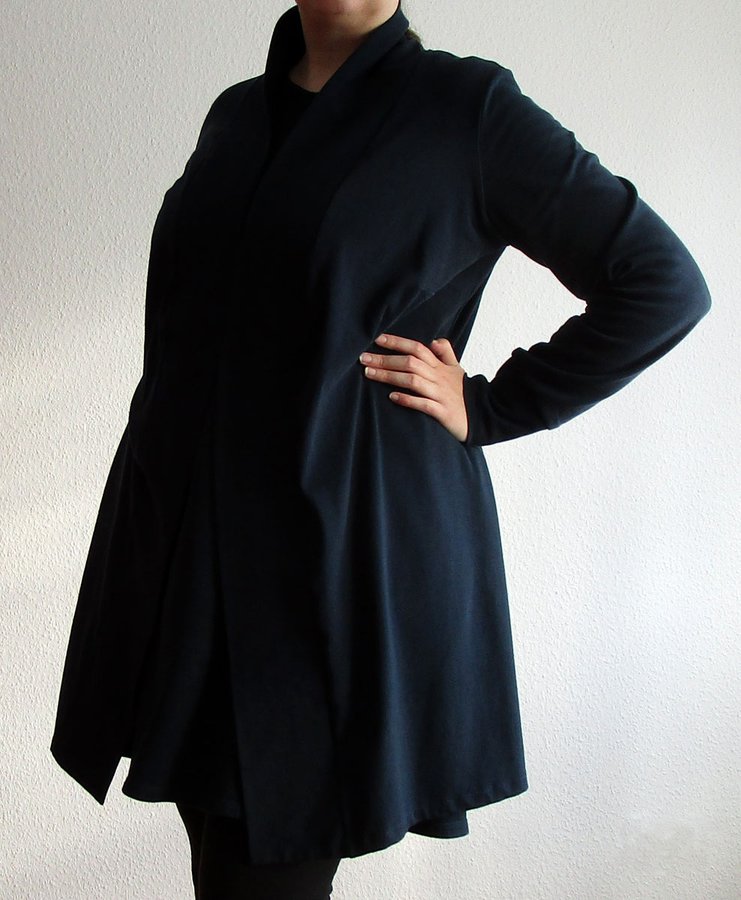
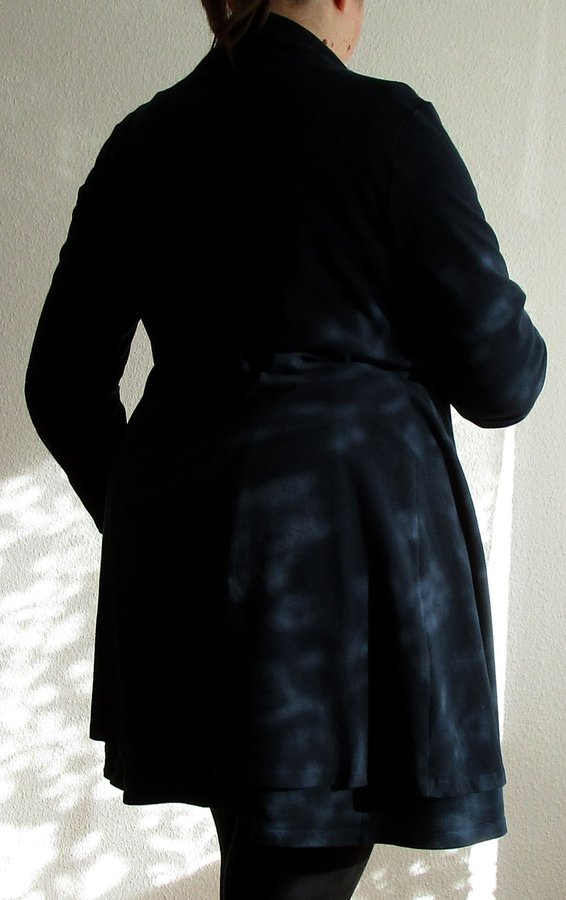
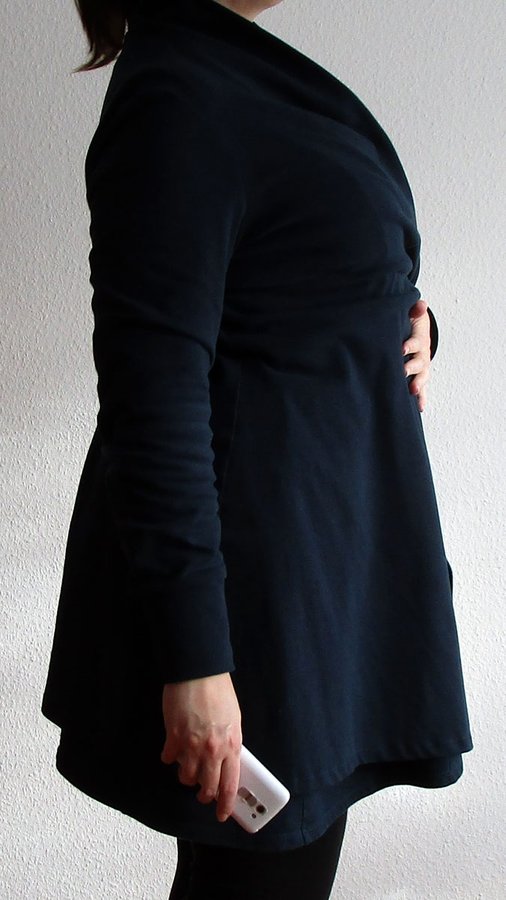
Lily is only slightly tailored and has a wide shawl collar with matching sleeve cuffs. It is primarily intended to be worn open, but overlaps so far at the front that you can really snuggle up in an acute cold emergency.
You can sew Lily with or without a bust dart. If you have a larger bust, I advise you to go for the version with bust darts. For comparison: the blue jacket in the photos is sewn with bust darts, the gray one without

Do you feel like it? Then I'll show you now how you can sew your own Lily. First you get the pattern. The cut is designed for light to very stretchy fabrics. In the example I sew a heavy jersey made of polyester, viscose and wool, but a strong jersey with elastane also works well, and I've already sewn a really thick pure wool fabric.
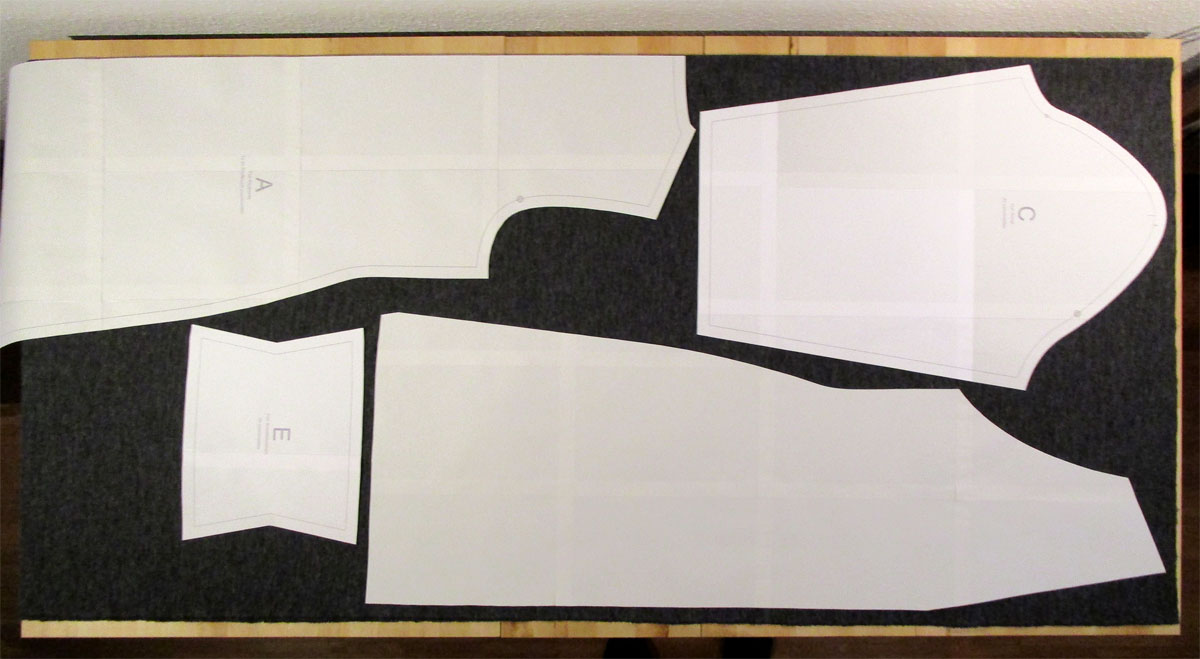
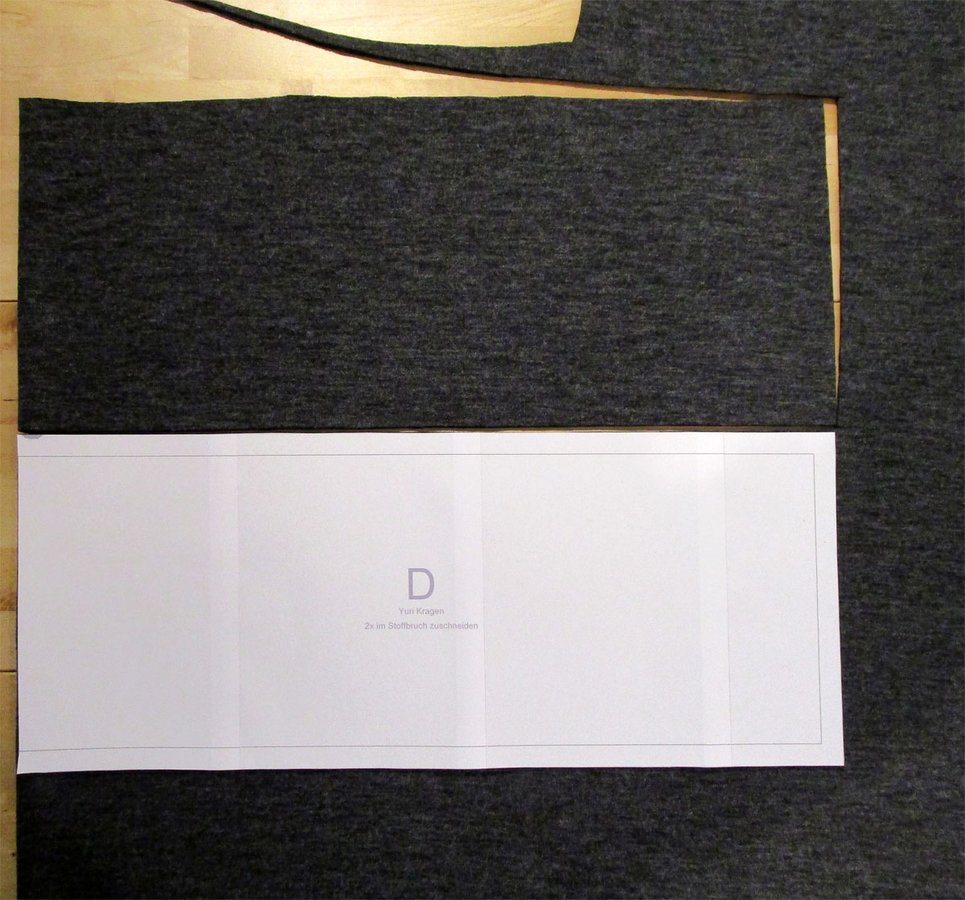
A back piece, two front pieces, twice sleeves and cuffs and twice the shawl collar are cut. The back and shawl collar are cut in the fabric fold.
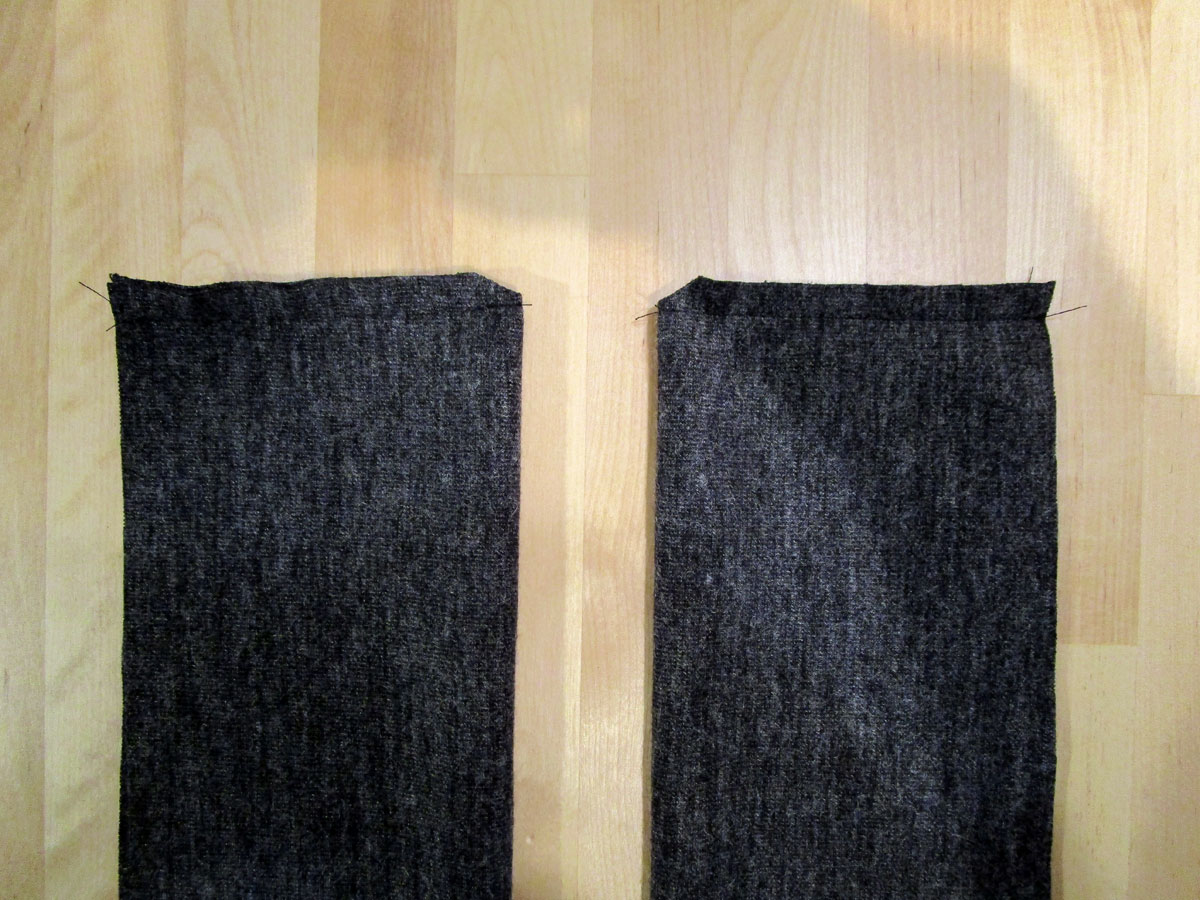
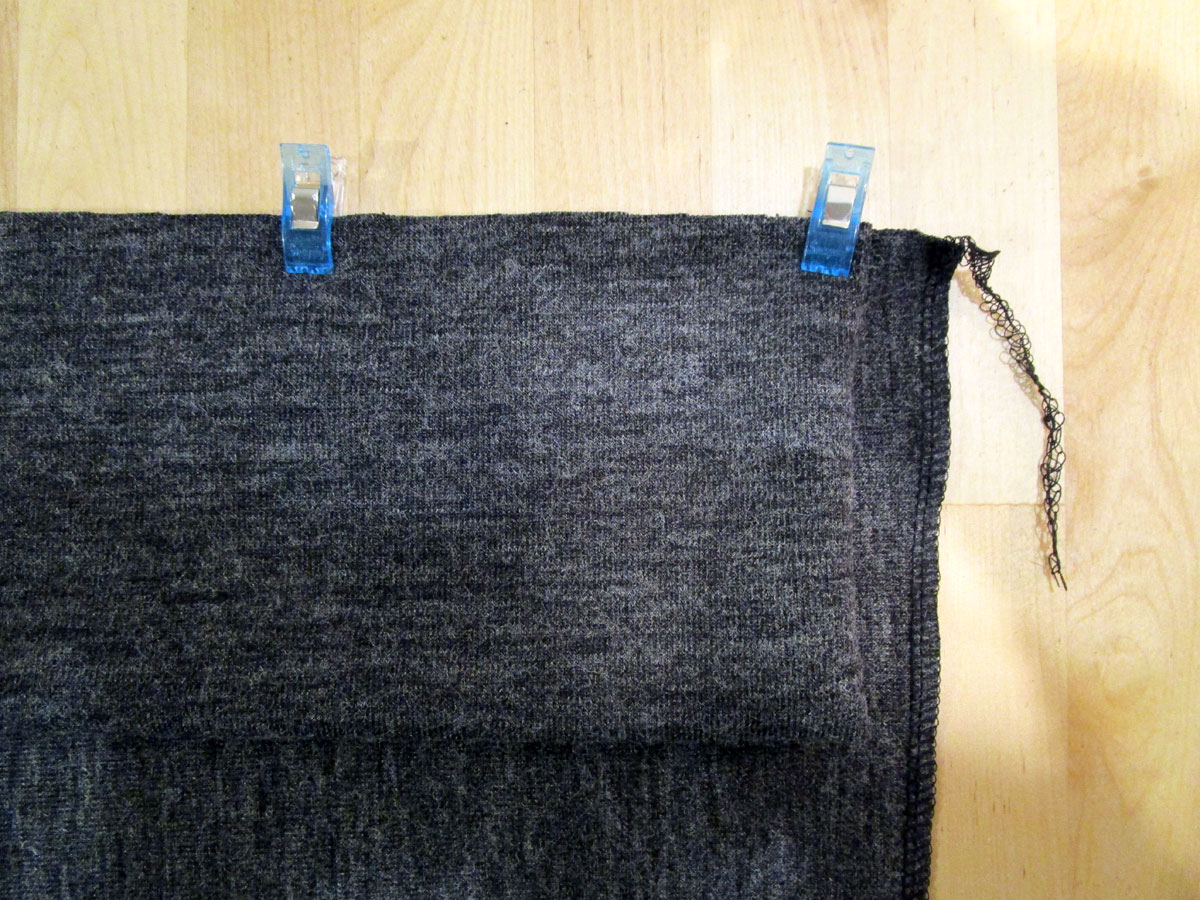
Please do not add a seam allowance at the bottom of the front and back parts, there are already 2.5 cm for the hem. If you have the seam allowance drawn in by the tailor, this is of course taken into account. Transfer all the hem markings, i.e. the small lines, into the seam allowance with a snap.
If you sew the variant with bust darts, mark the end point of the dart triangle with a needle, for example, and the ends of the triangle on the side with snaps. Transfer the end of the dart to the other side that is at the bottom when you cut it. Fold one of the front parts with the right side inwards so that the two sides of the dart are apart and then sew the dart. Please do not lock the seam at the end point of the dart, but sew a few stitches beyond the point. Then you secure the seam with a small knot close to the fabric. Fold the dart down. From now on, the variant with and without the bust dart will be sewn in the same way.
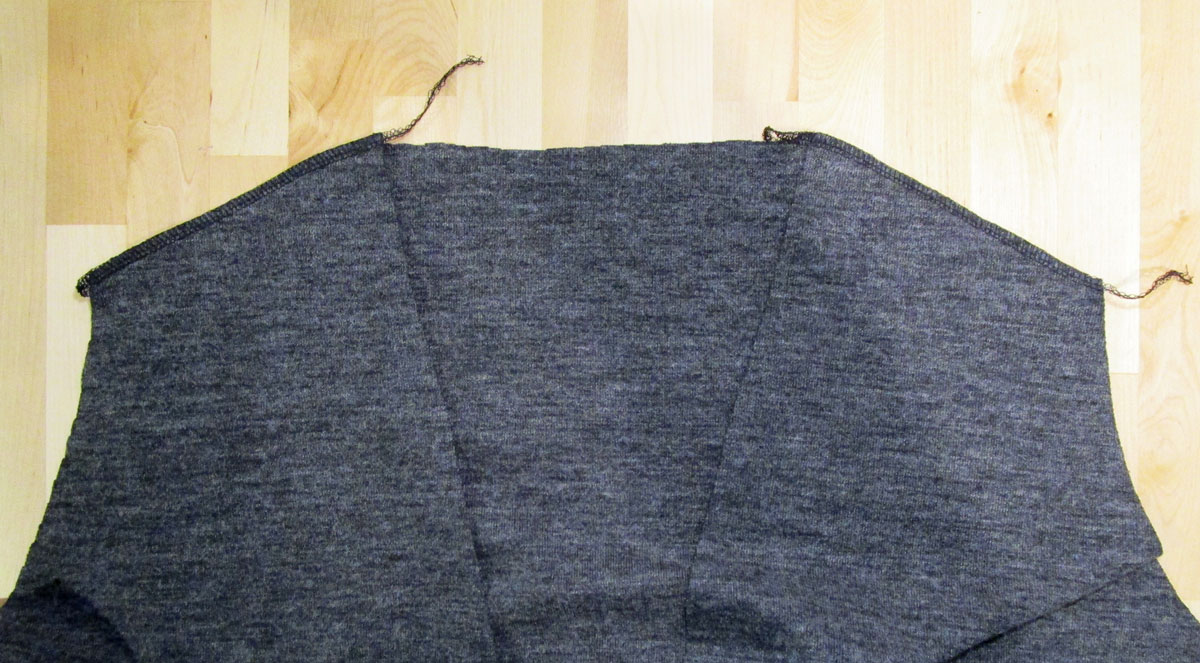
Place the two front parts on the back and sew the shoulders together. The right side of the fabric is on the inside.
Instead of an overlock, you can of course sew the seams with a normal household sewing machine. Set up a narrow zigzag stitch to keep the seams stretchy.
Now put the jacket in front of you and unfold one of the armholes. The right side is on top. Then take one of the sleeve parts. The right side of this points downwards. The correct sleeve part is the one where the notches for the sleeve points match. So if the armhole has two notches on the left, and the sleeve too, then that fits.
The sleeve has a notch at the highest point. Place this on the shoulder seam and pin the sleeve. Then you put the left corner of the arm ball on the left corner of the armhole and pin it in place. The notches in the armhole and on the sleeve are also put together. Do the same on the other side. The sleeve is a bit wider than the armhole, that's right. Distribute the width as evenly as possible and pin everything tightly. Then you can sew the sleeves and jacket together. The easiest way to do this is when the sleeve lies flat on the sewing machine. Place the shoulder seam in the back.
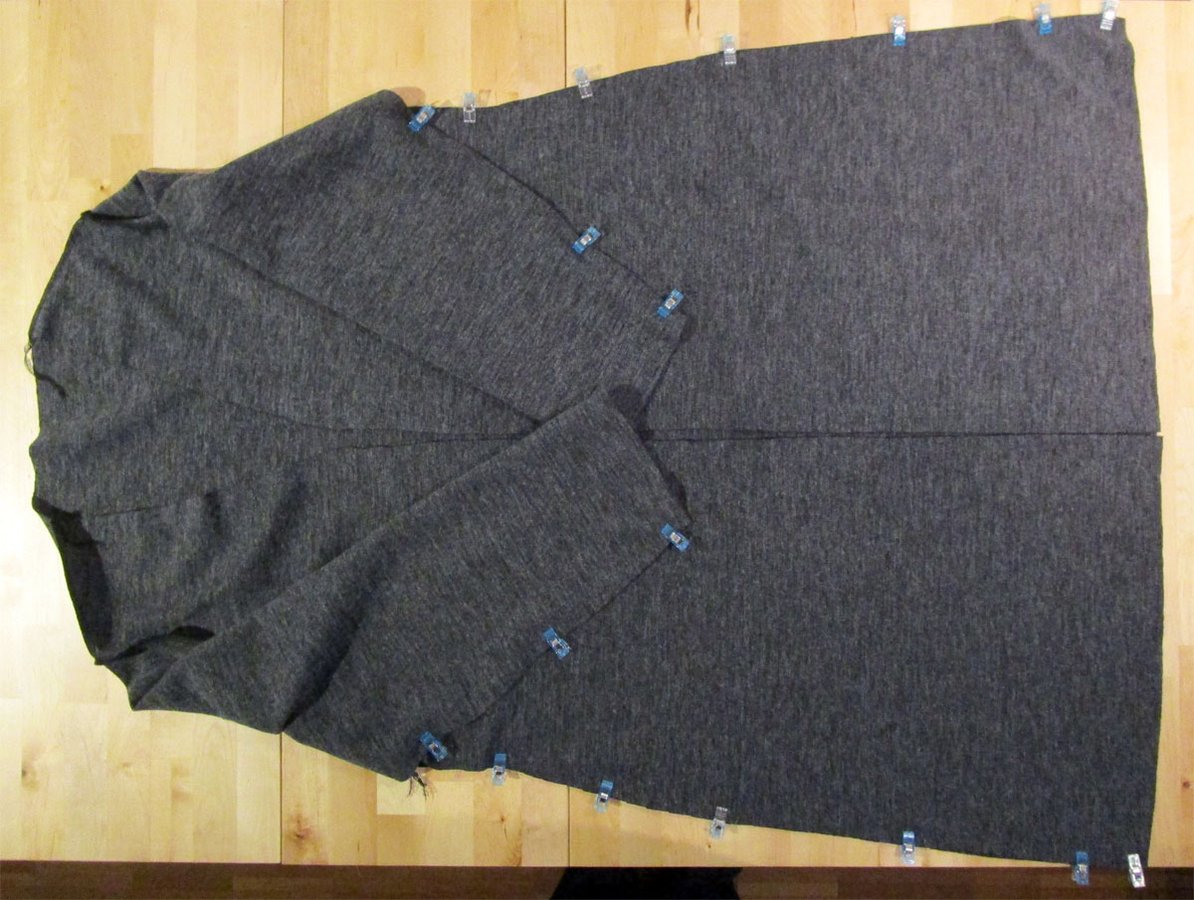
That was the hardest part. After you have sewn on both sleeves, fold the sleeves and the sides of the jacket right sides together and sew both sides together in one go from the sleeve to the hem. Overcast the bottom edge of the jacket with the overlock or a zigzag stitch.
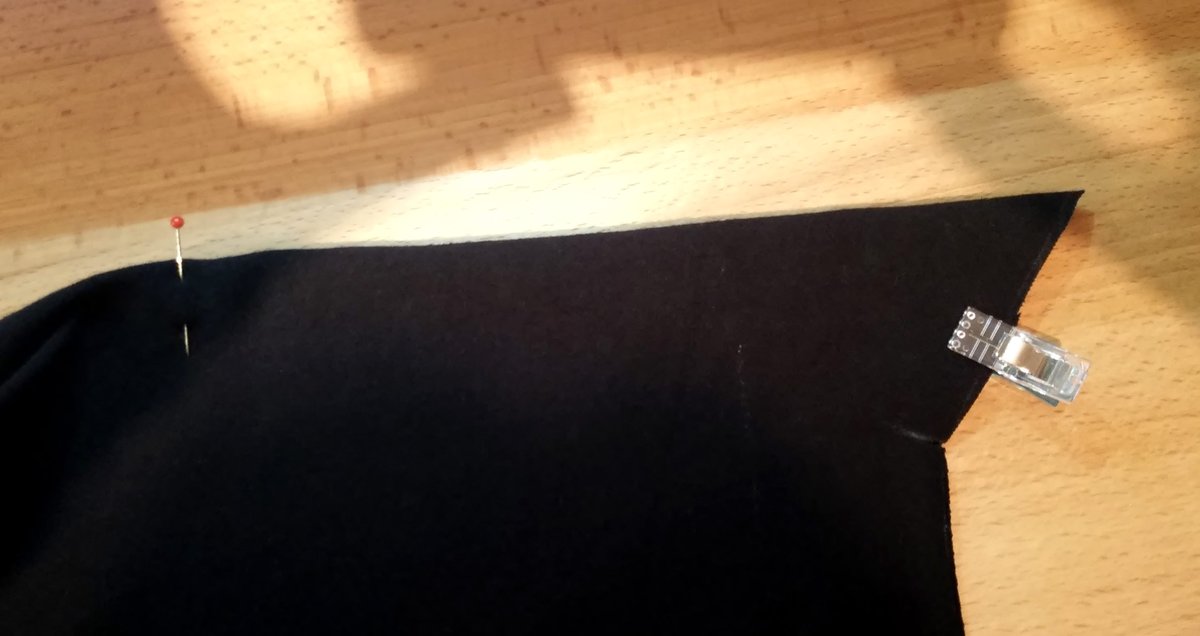
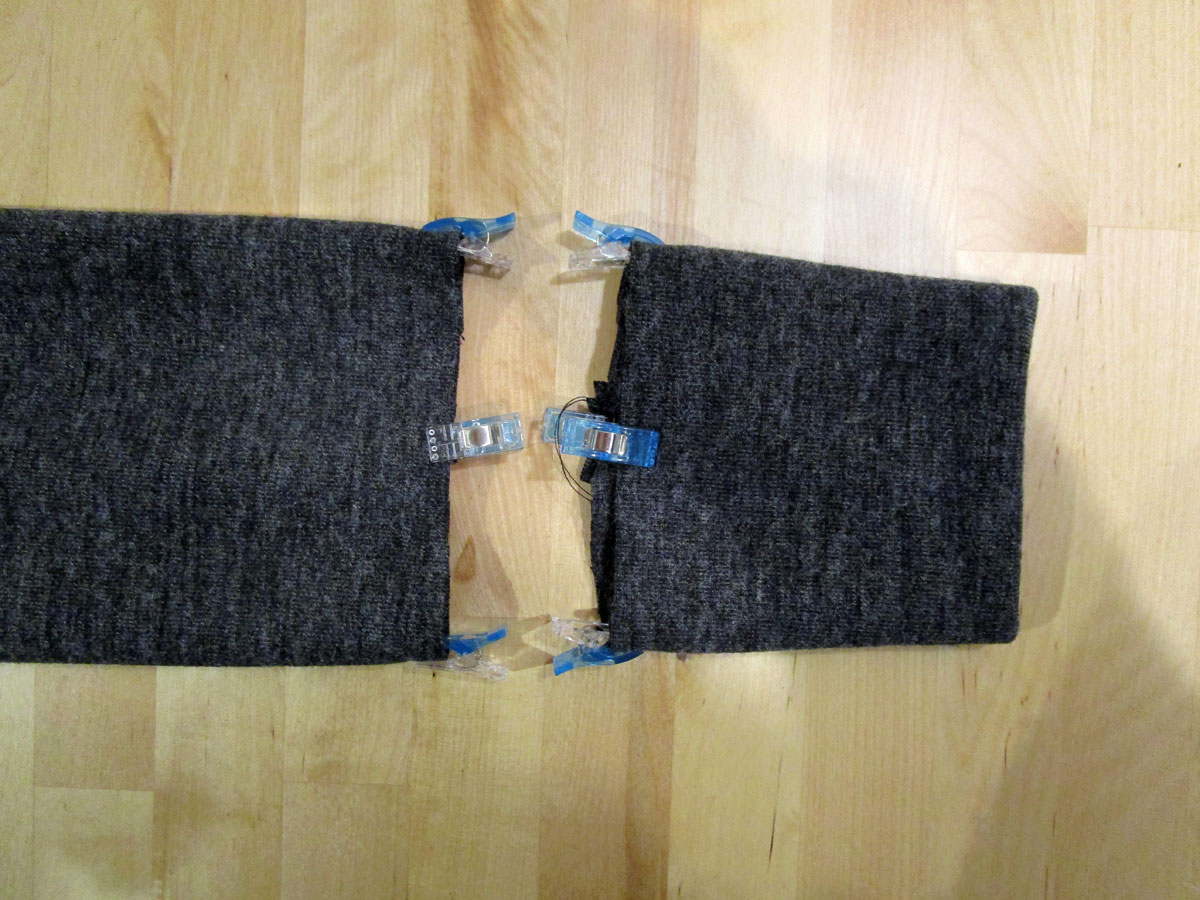
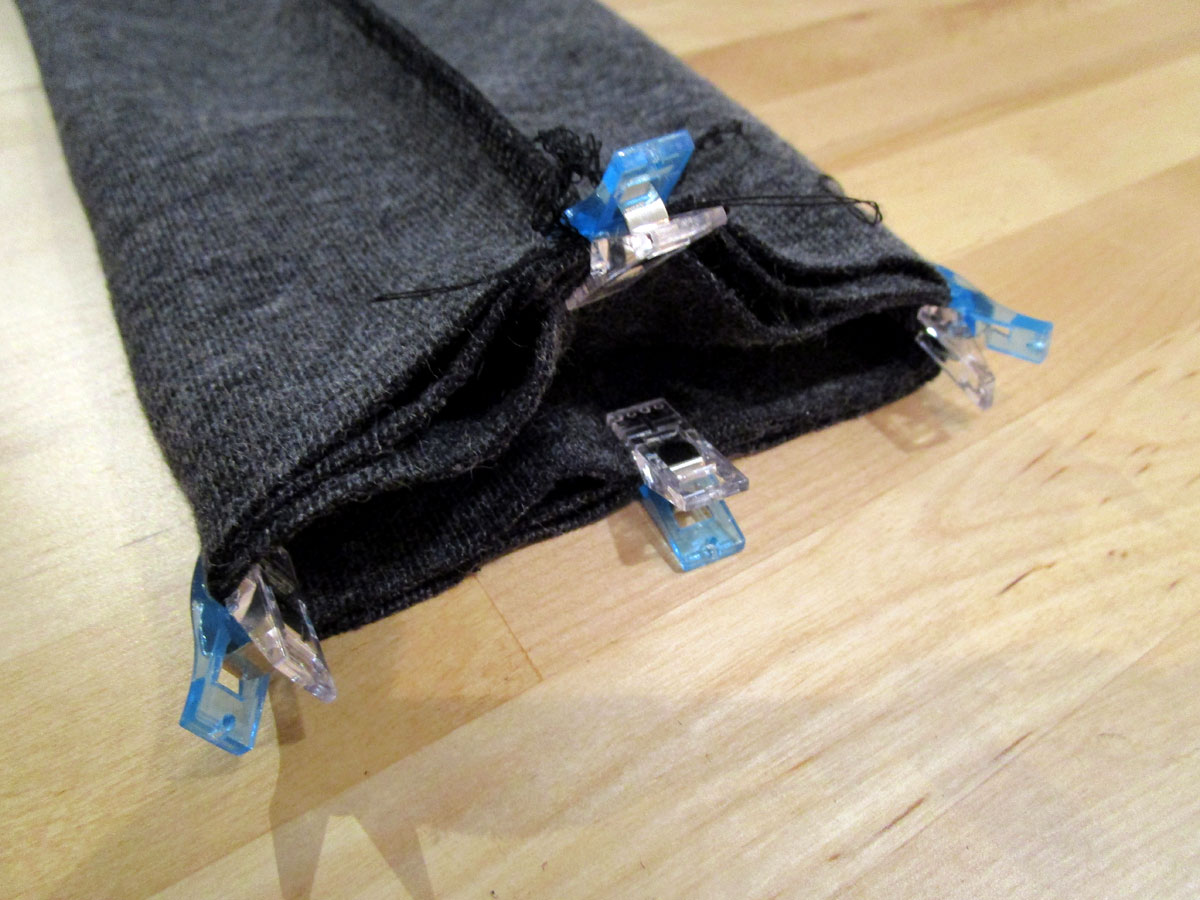
Now it looks like a jacket, doesn't it? It continues with the cuffs. Fold this lengthwise right sides together and sew once along the edge. Use a straight stitch to do this. Then fold the cuff so that the seam allowance is on the inside and mark the quarters of the open edge. Mark these on the sleeves as well and tuck the cuffs in so that the quarter markings meet. The longitudinal seams also meet, the right side of the sleeves and cuffs are on top of each other. Sew the cuffs to the sleeves with an upper lock or zigzag stitch.

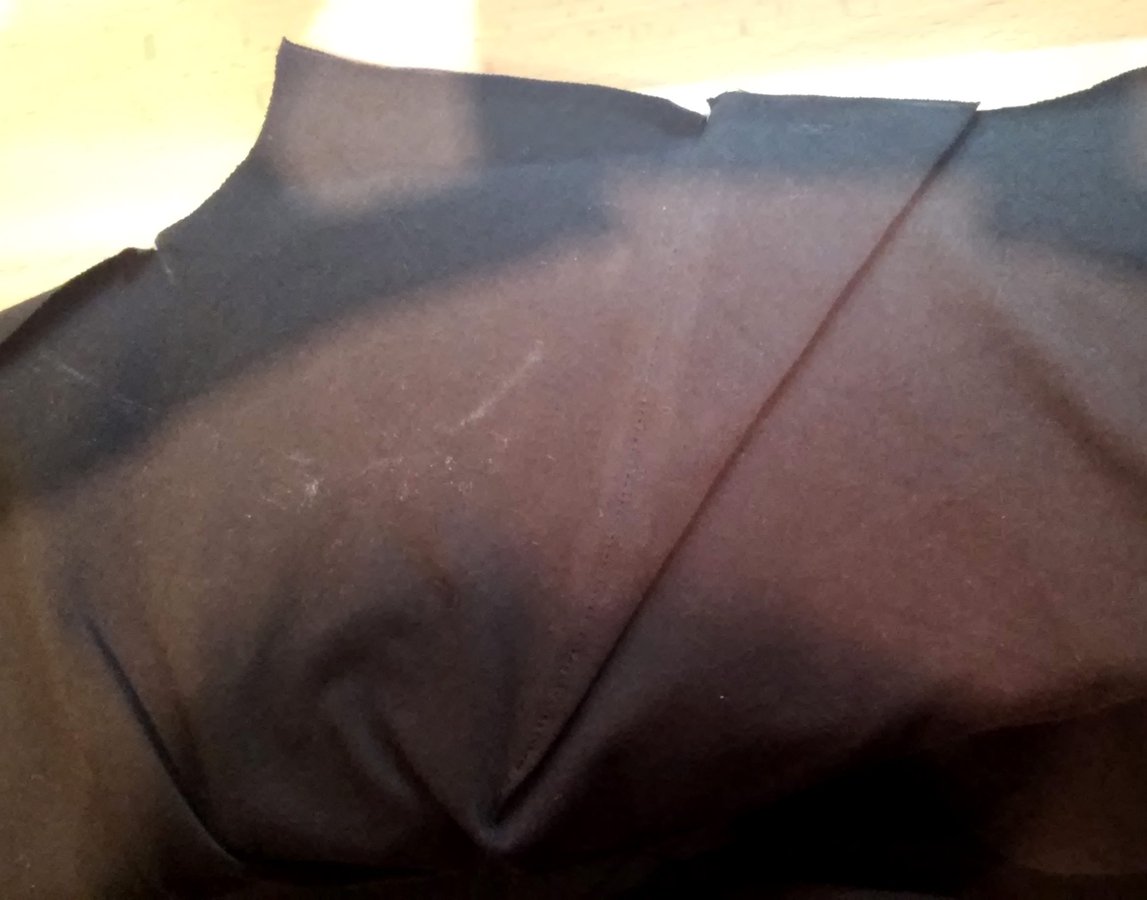
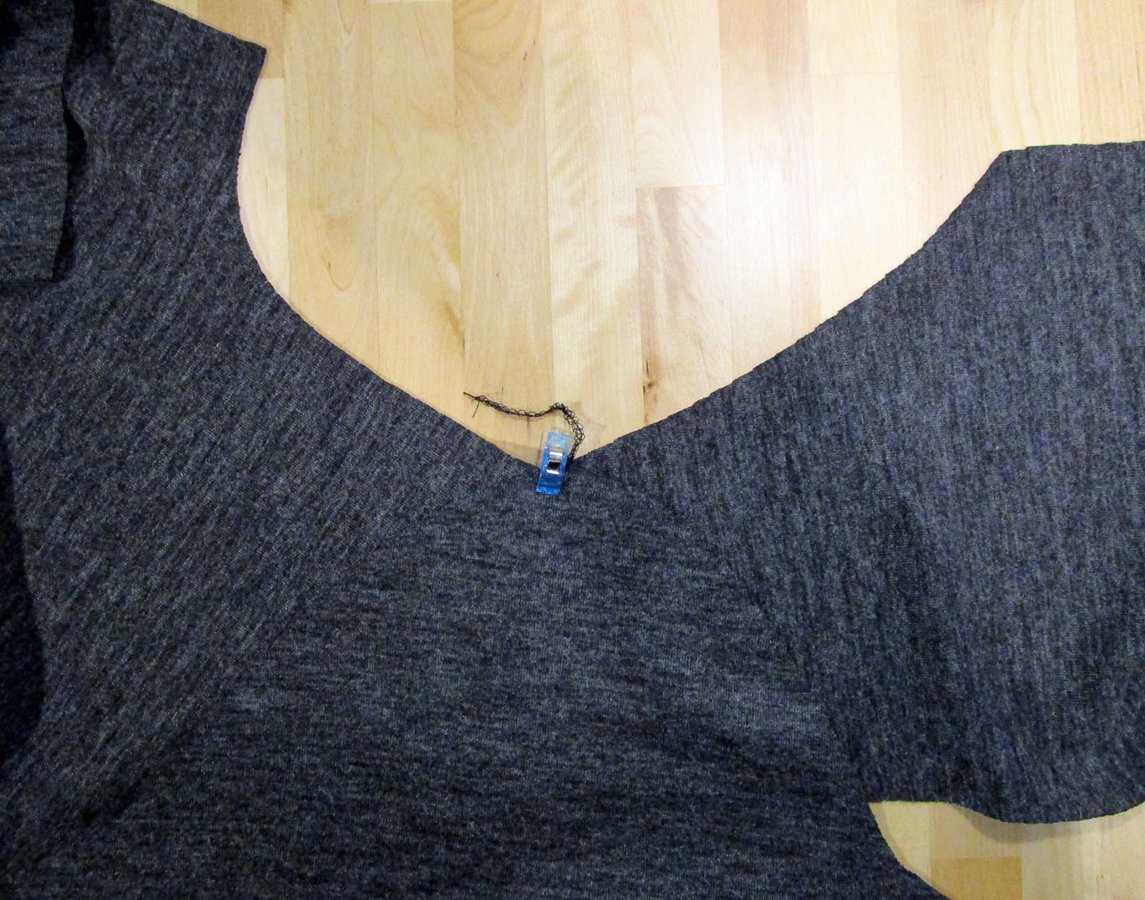
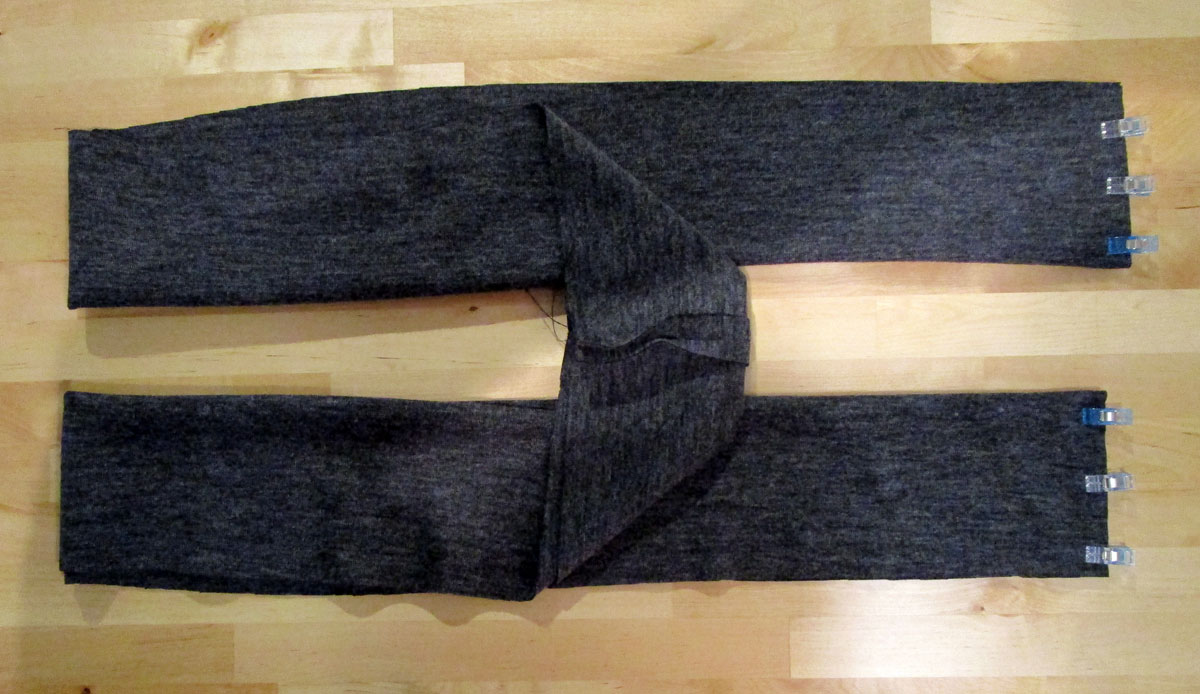
Unfold the two collar parts and sew one of the short edges right sides together with a straight stitch. Fold the resulting long rectangle right side in and sew the two short sides together. Then cut back the seam allowance at the fold in the shape of a triangle, but please only just before the seam. Then turn the collar over, shape the two corners well and make sure that the center seam is unfolded and is perfectly smooth.
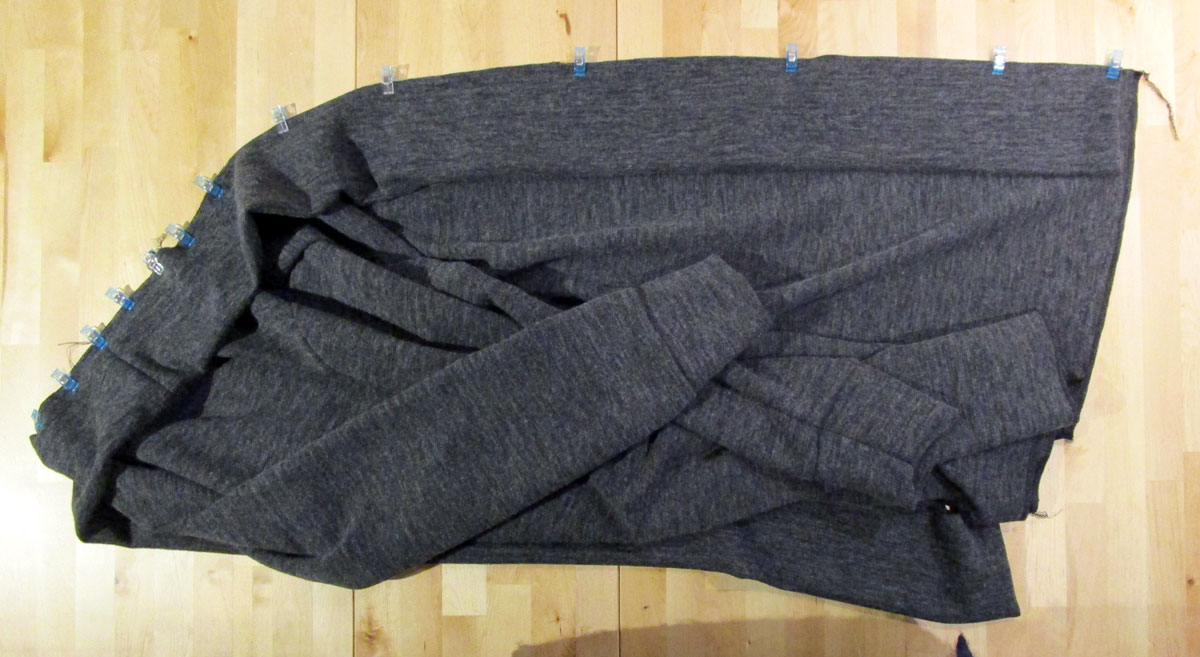
The center seam of the collar is then also pinned in the middle (and of course right sides together) on the back neckline. Now fasten the shawl collar all around. The two ends are pinned about 2.5 cm above the lower edge. Sew the shawl collar on with an overlock or zigzag stitch.
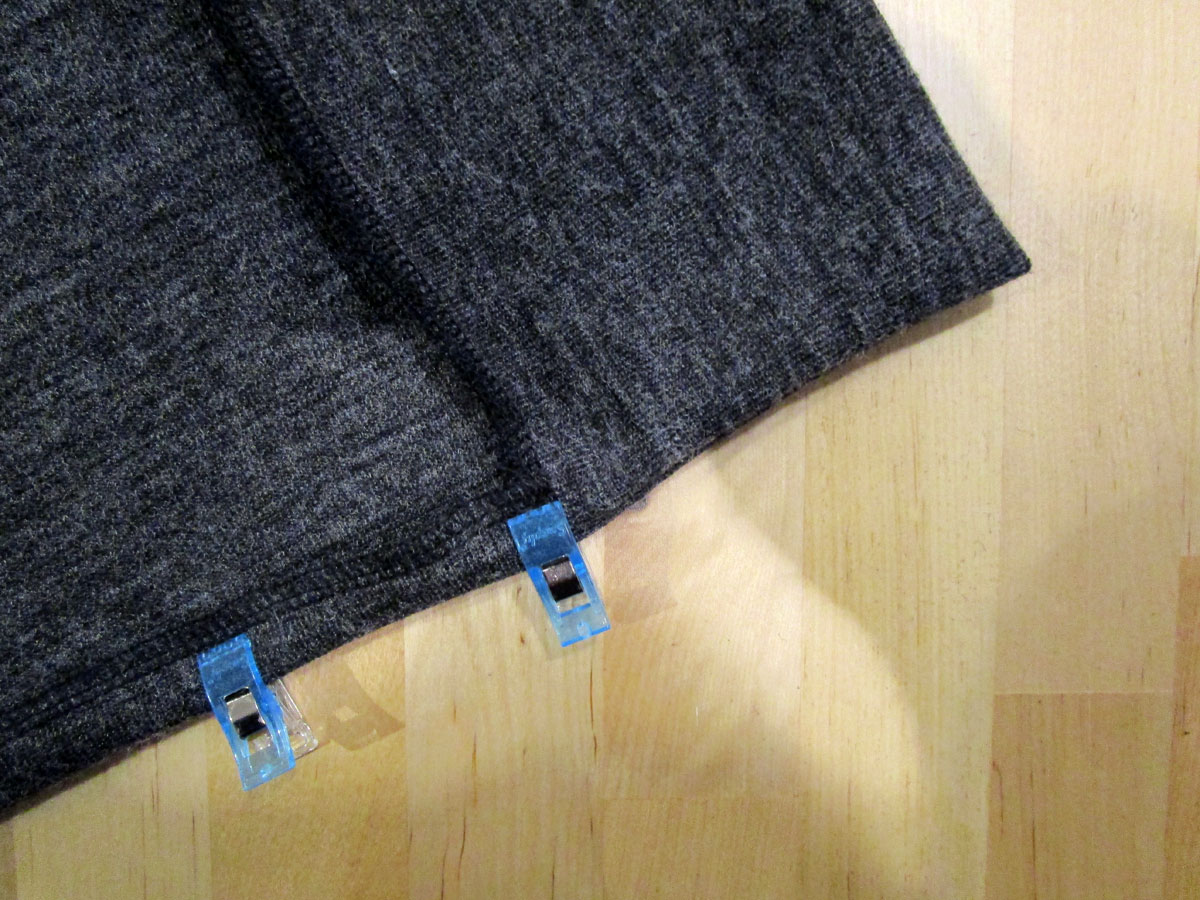
Almost there! Now all you need to do is fold the lower hem inwards and sew it on. You can do this with a simple straight stitch, but set the stitch length a step or two longer.


Leg dir die ausgedruckten Teile am Besten so hin, wie du sie zuschneiden würdest und miss die benötigte Länge. Das Berechnen des Stoffverbrauchs wird etwas kniffelig, das steht noch irgendwo auf meiner Liste. :D
Viel Erfolg!
Das ist schon richtig so, der Kragen wird im Stoffbruch zugeschnitten. Viel Spaß noch mit dem Schnitt!